[vc_row][vc_column][vc_column_text]
[/vc_column_text][vc_column_text]
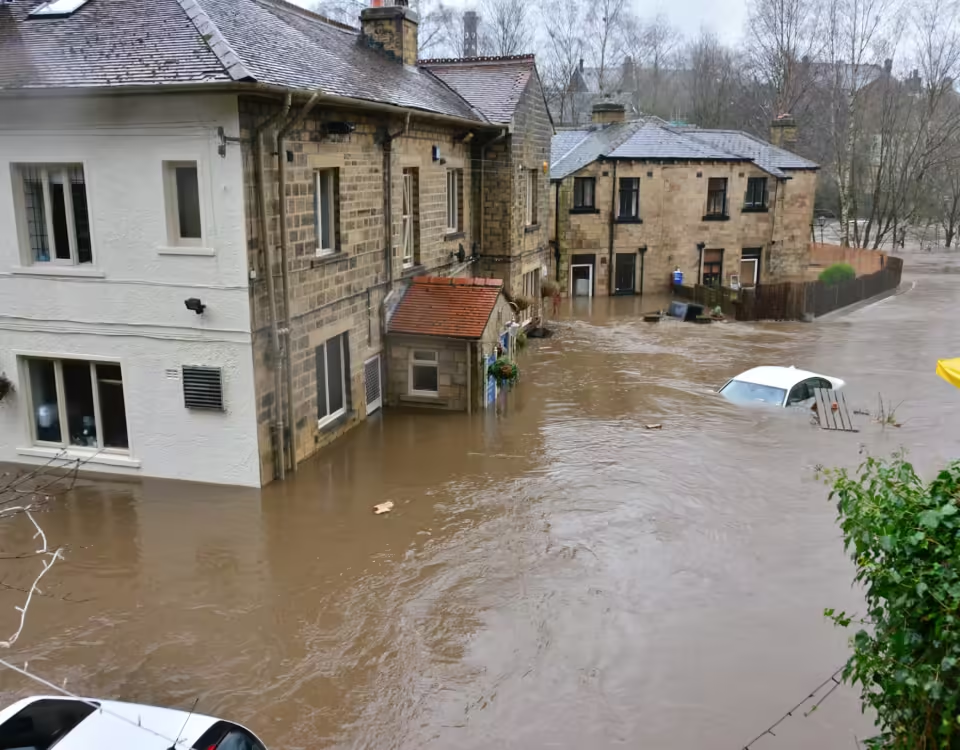
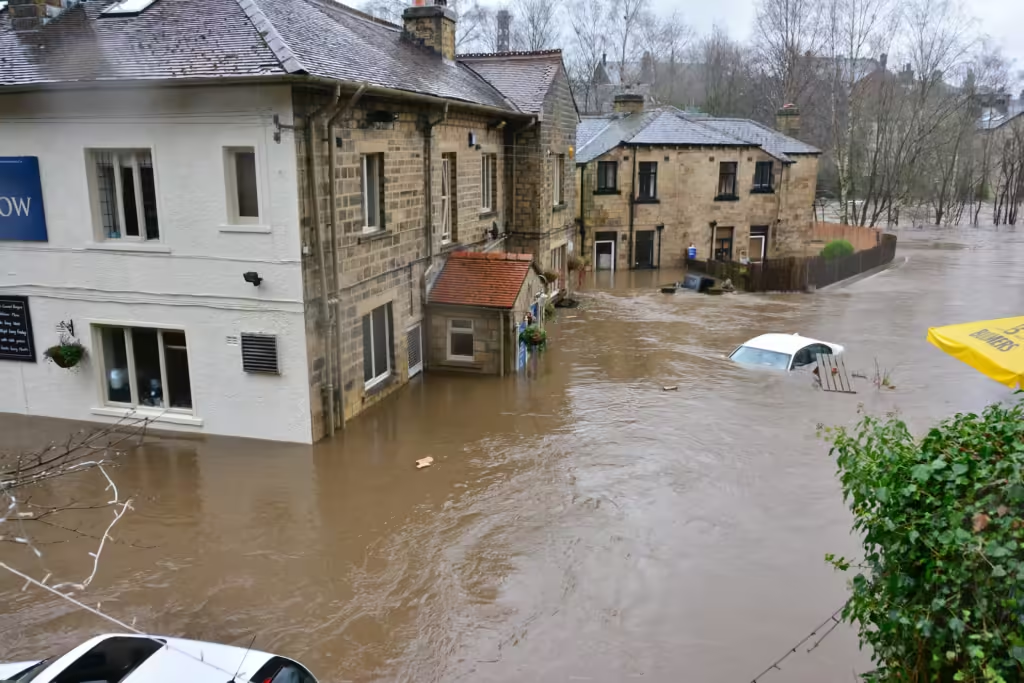
Wet Walls
[/vc_column_text][/vc_column][/vc_row][vc_row][vc_column width="1/3"][/vc_column][vc_column width="1/3"][vc_single_image image="258406" img_size="large" alignment="center" css_animation="fadeIn"][/vc_column][vc_column width="1/3"][/vc_column][/vc_row][vc_row][vc_column][vc_column_text]
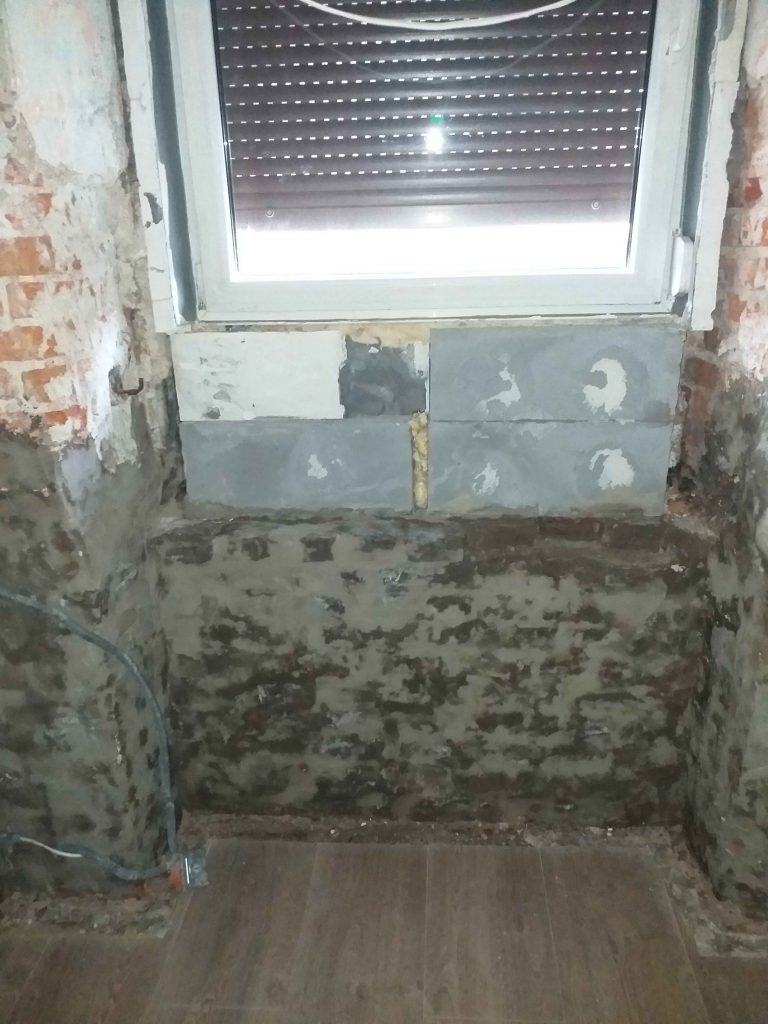
Wet walls. Visible Damp Stains
[/vc_column_text][vc_column_text]
Where Does Wall Moisture Come From?
The wall remains consistently damp, but the moisture does not surface, resulting in dry-to-the-touch spots.
What to Do When You Have Wet Walls?
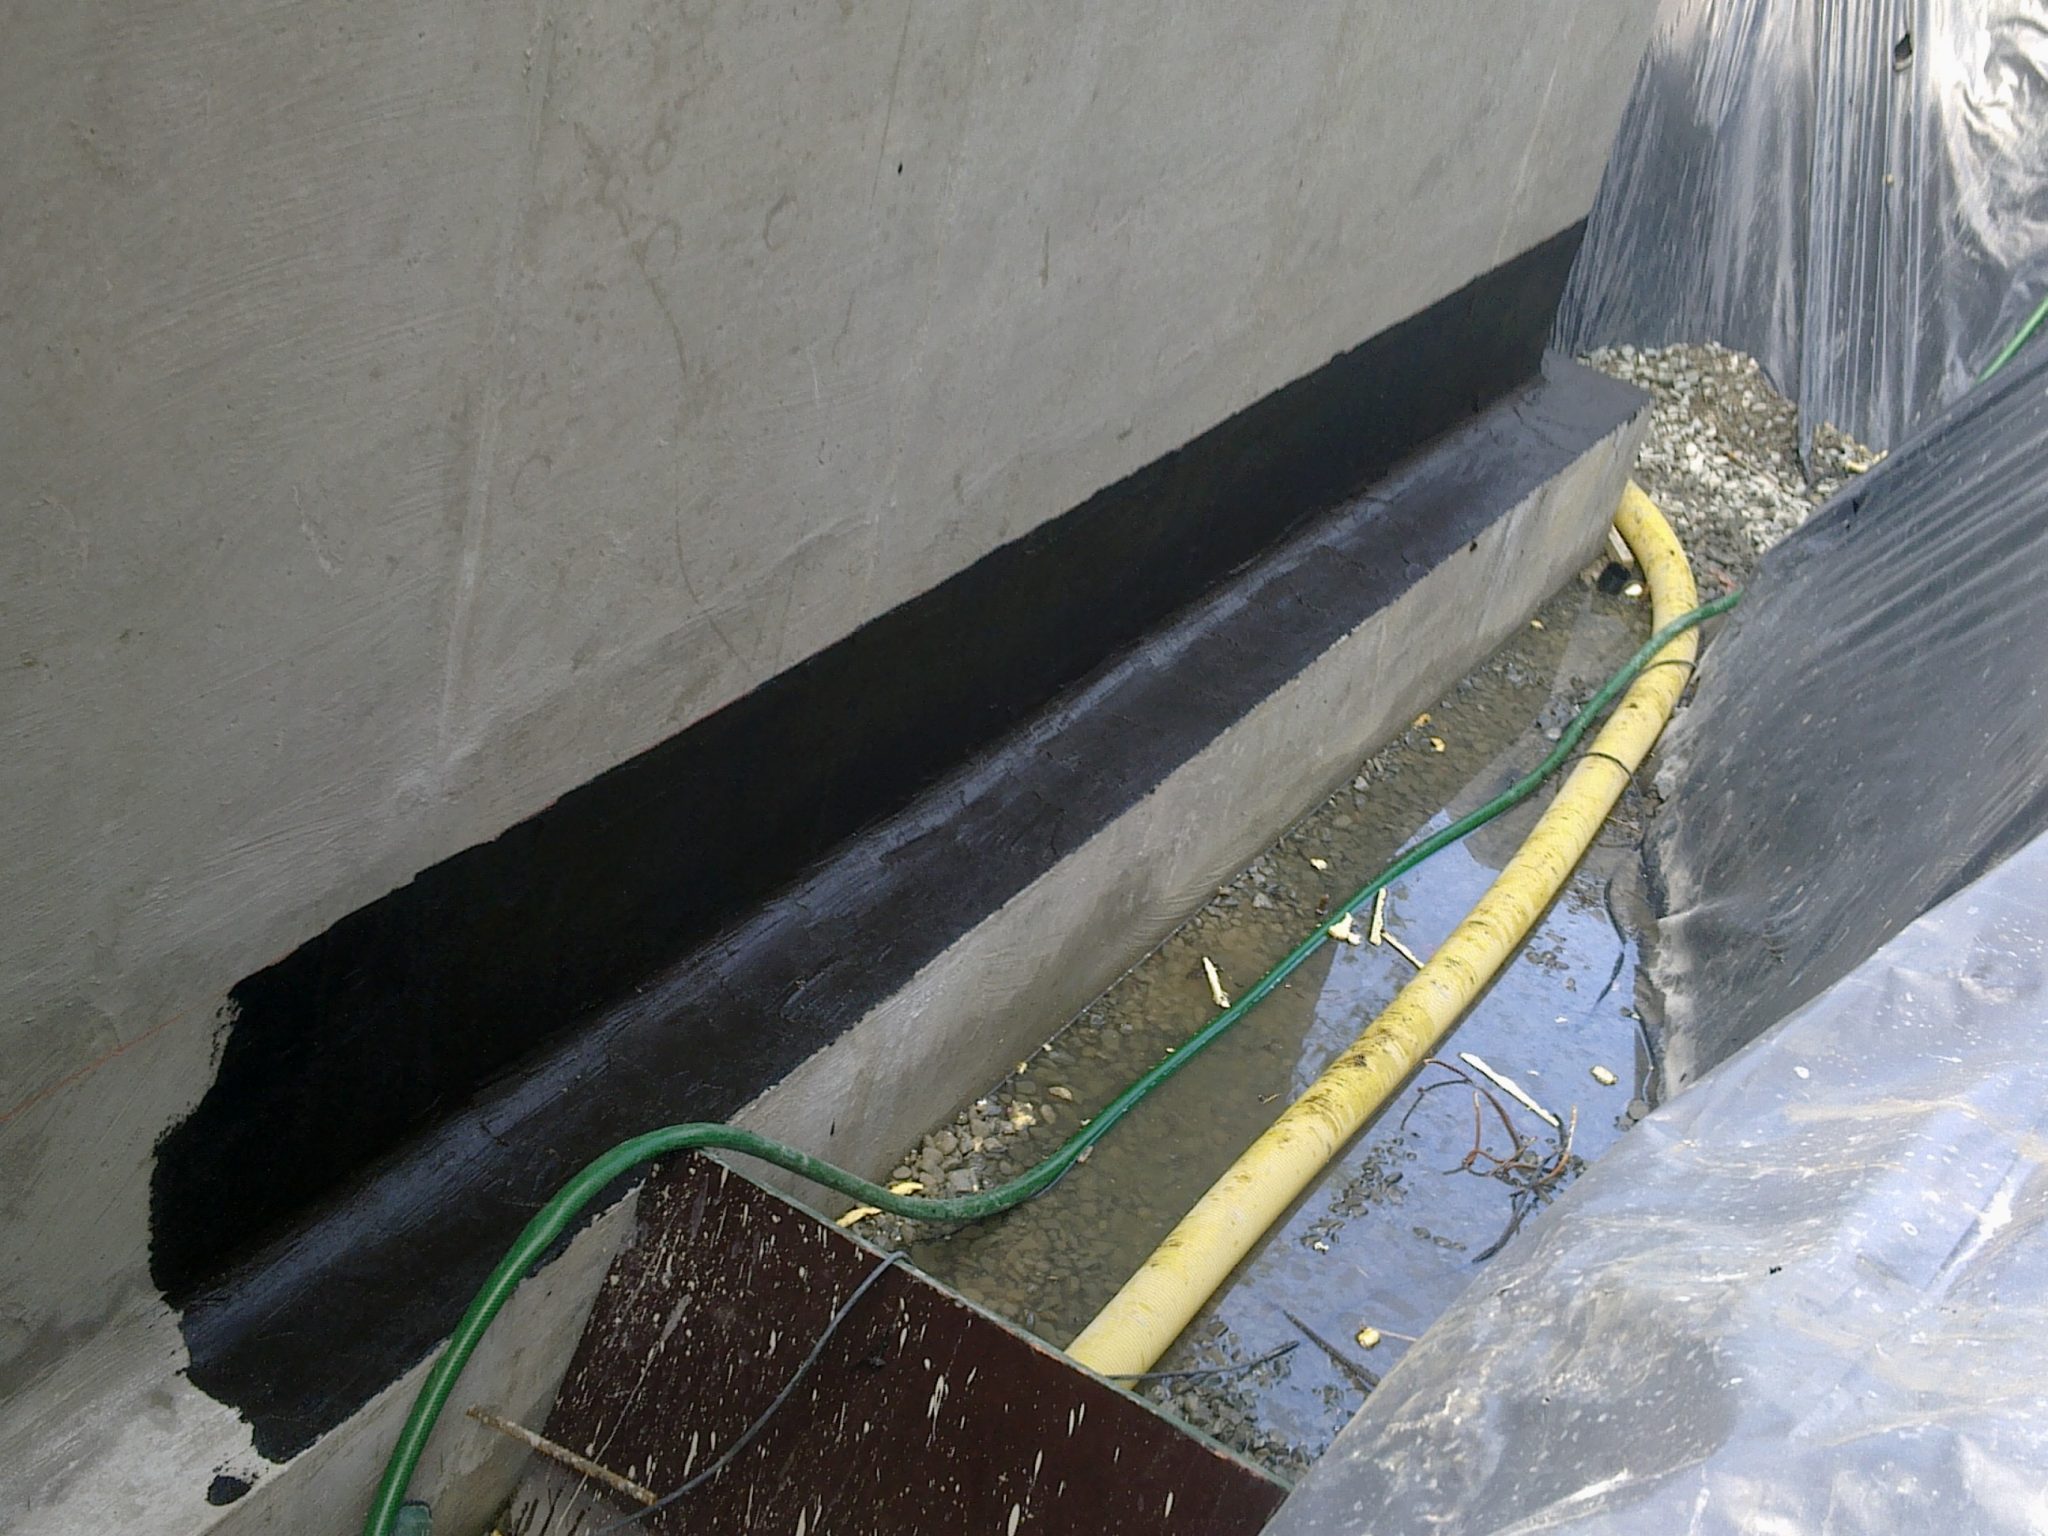
Unfortunately, in this case, the entire base wall under the window needs to be replaced. This is due to the lack of external vertical waterproofing.
How to Fix It?
- Start by removing the materials used for the base wall.
- Fill any gaps with solid bricks and use closed-cell structure foam for thermal insulation seals.
- After filling and leveling the surface, apply a sealing slurry or another negative-side waterproofing solution to all elements up to the window level. Since external waterproofing is absent, internal waterproofing should be applied to a height of at least 50 cm above the pavement level.
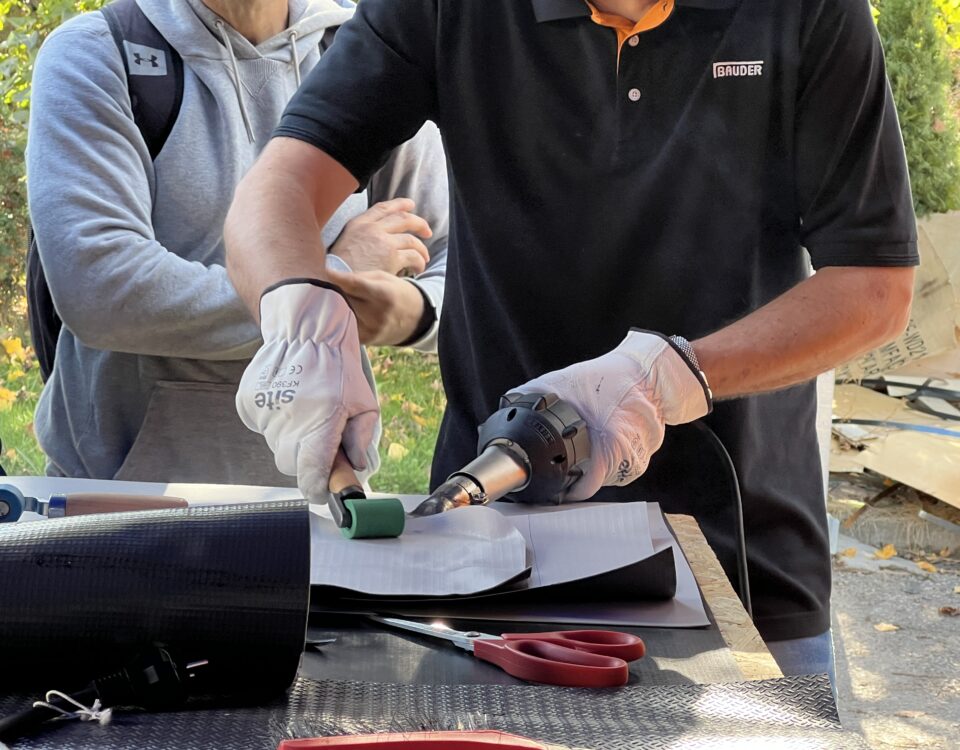
- Apply butyl tape to the window frame, ensuring the sealing slurry is also applied over the tape.
- Finally, apply renovation plaster, which can then be finished with lime screed or paints designed specifically for renovation plasters.
[/vc_column_text][/vc_column][/vc_row][vc_row][vc_column][vc_empty_space][/vc_column][/vc_row][vc_row][vc_column][vc_column_text]
[/vc_column_text][/vc_column][/vc_row]


